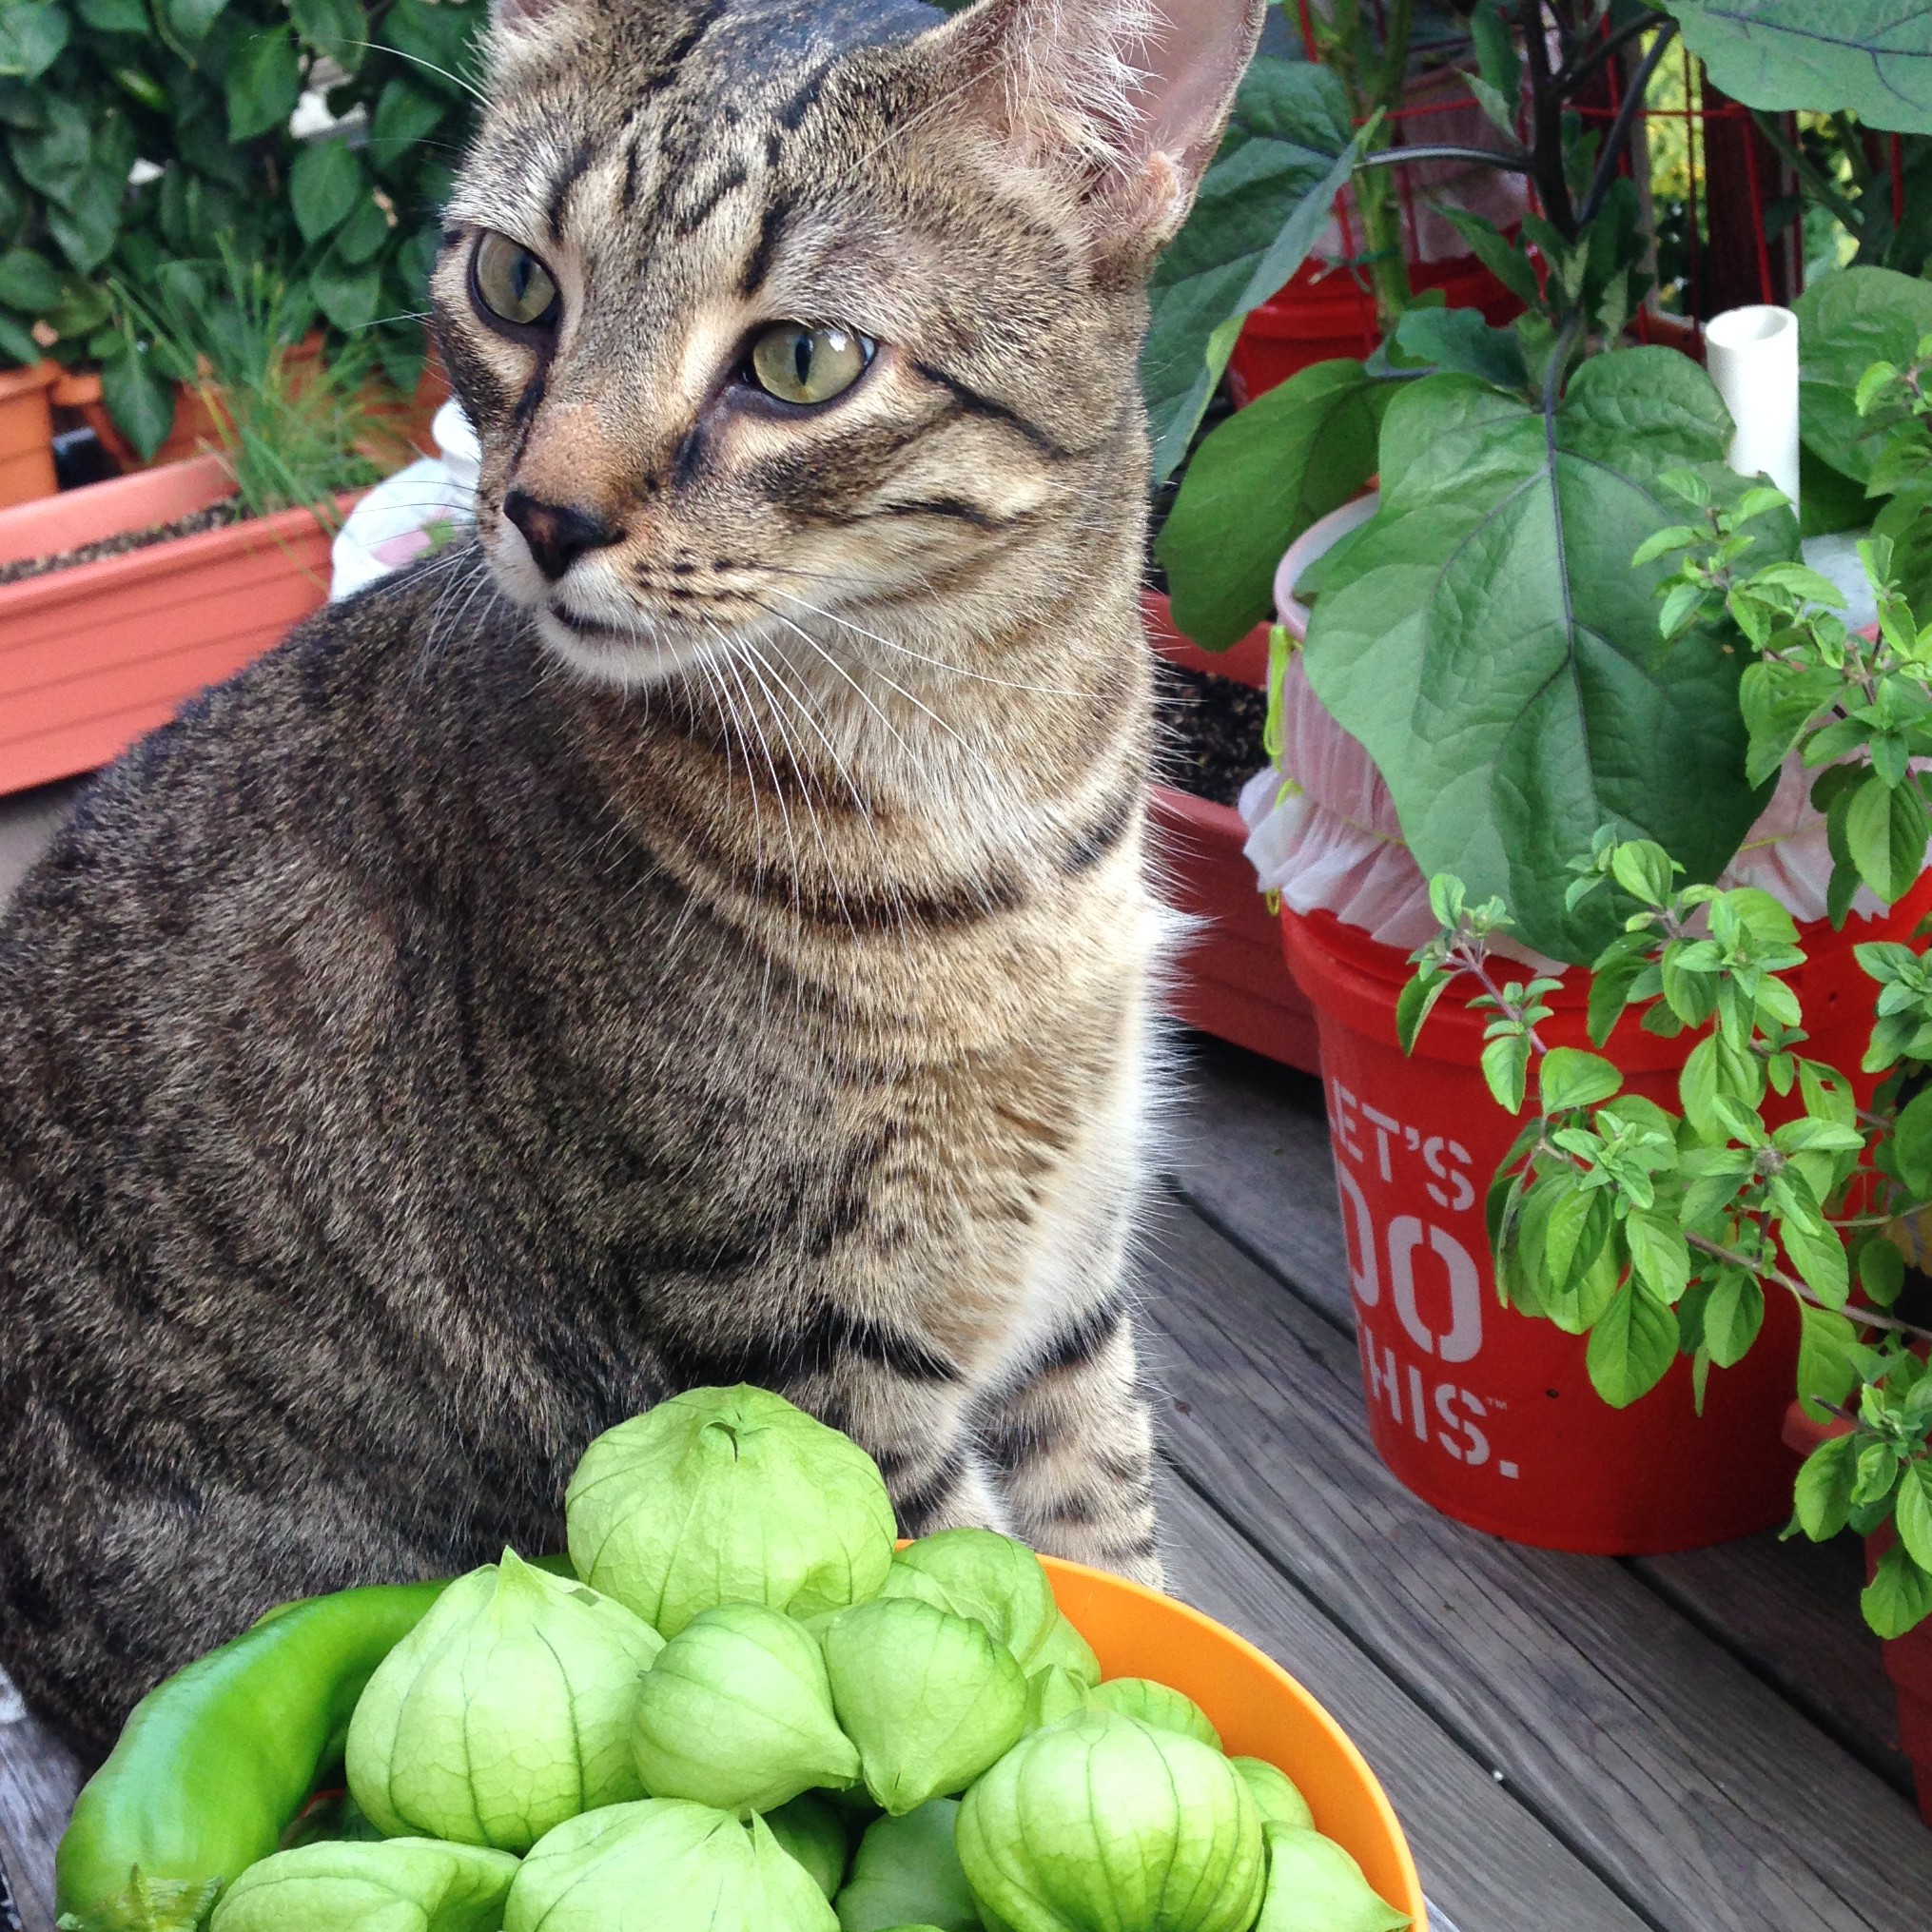
My garden last year thrived due to self-watering containers. You can buy them for $30-$60, or easily make one for around $10!
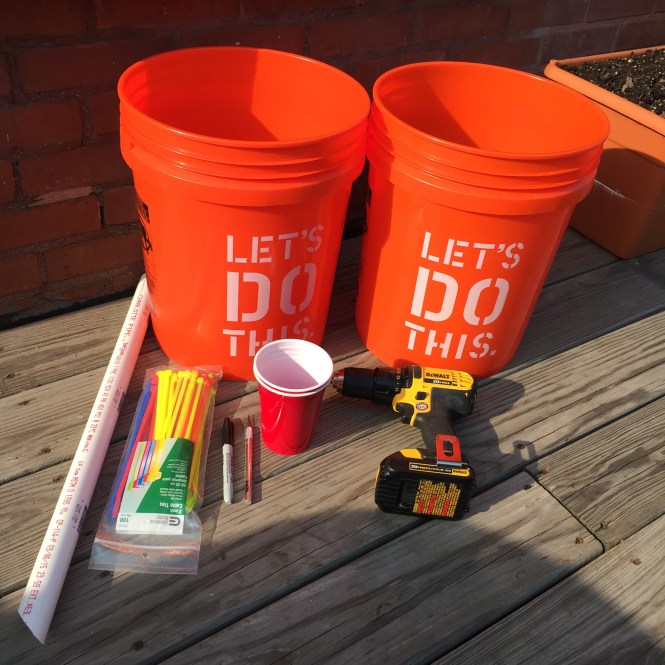
Items needed:
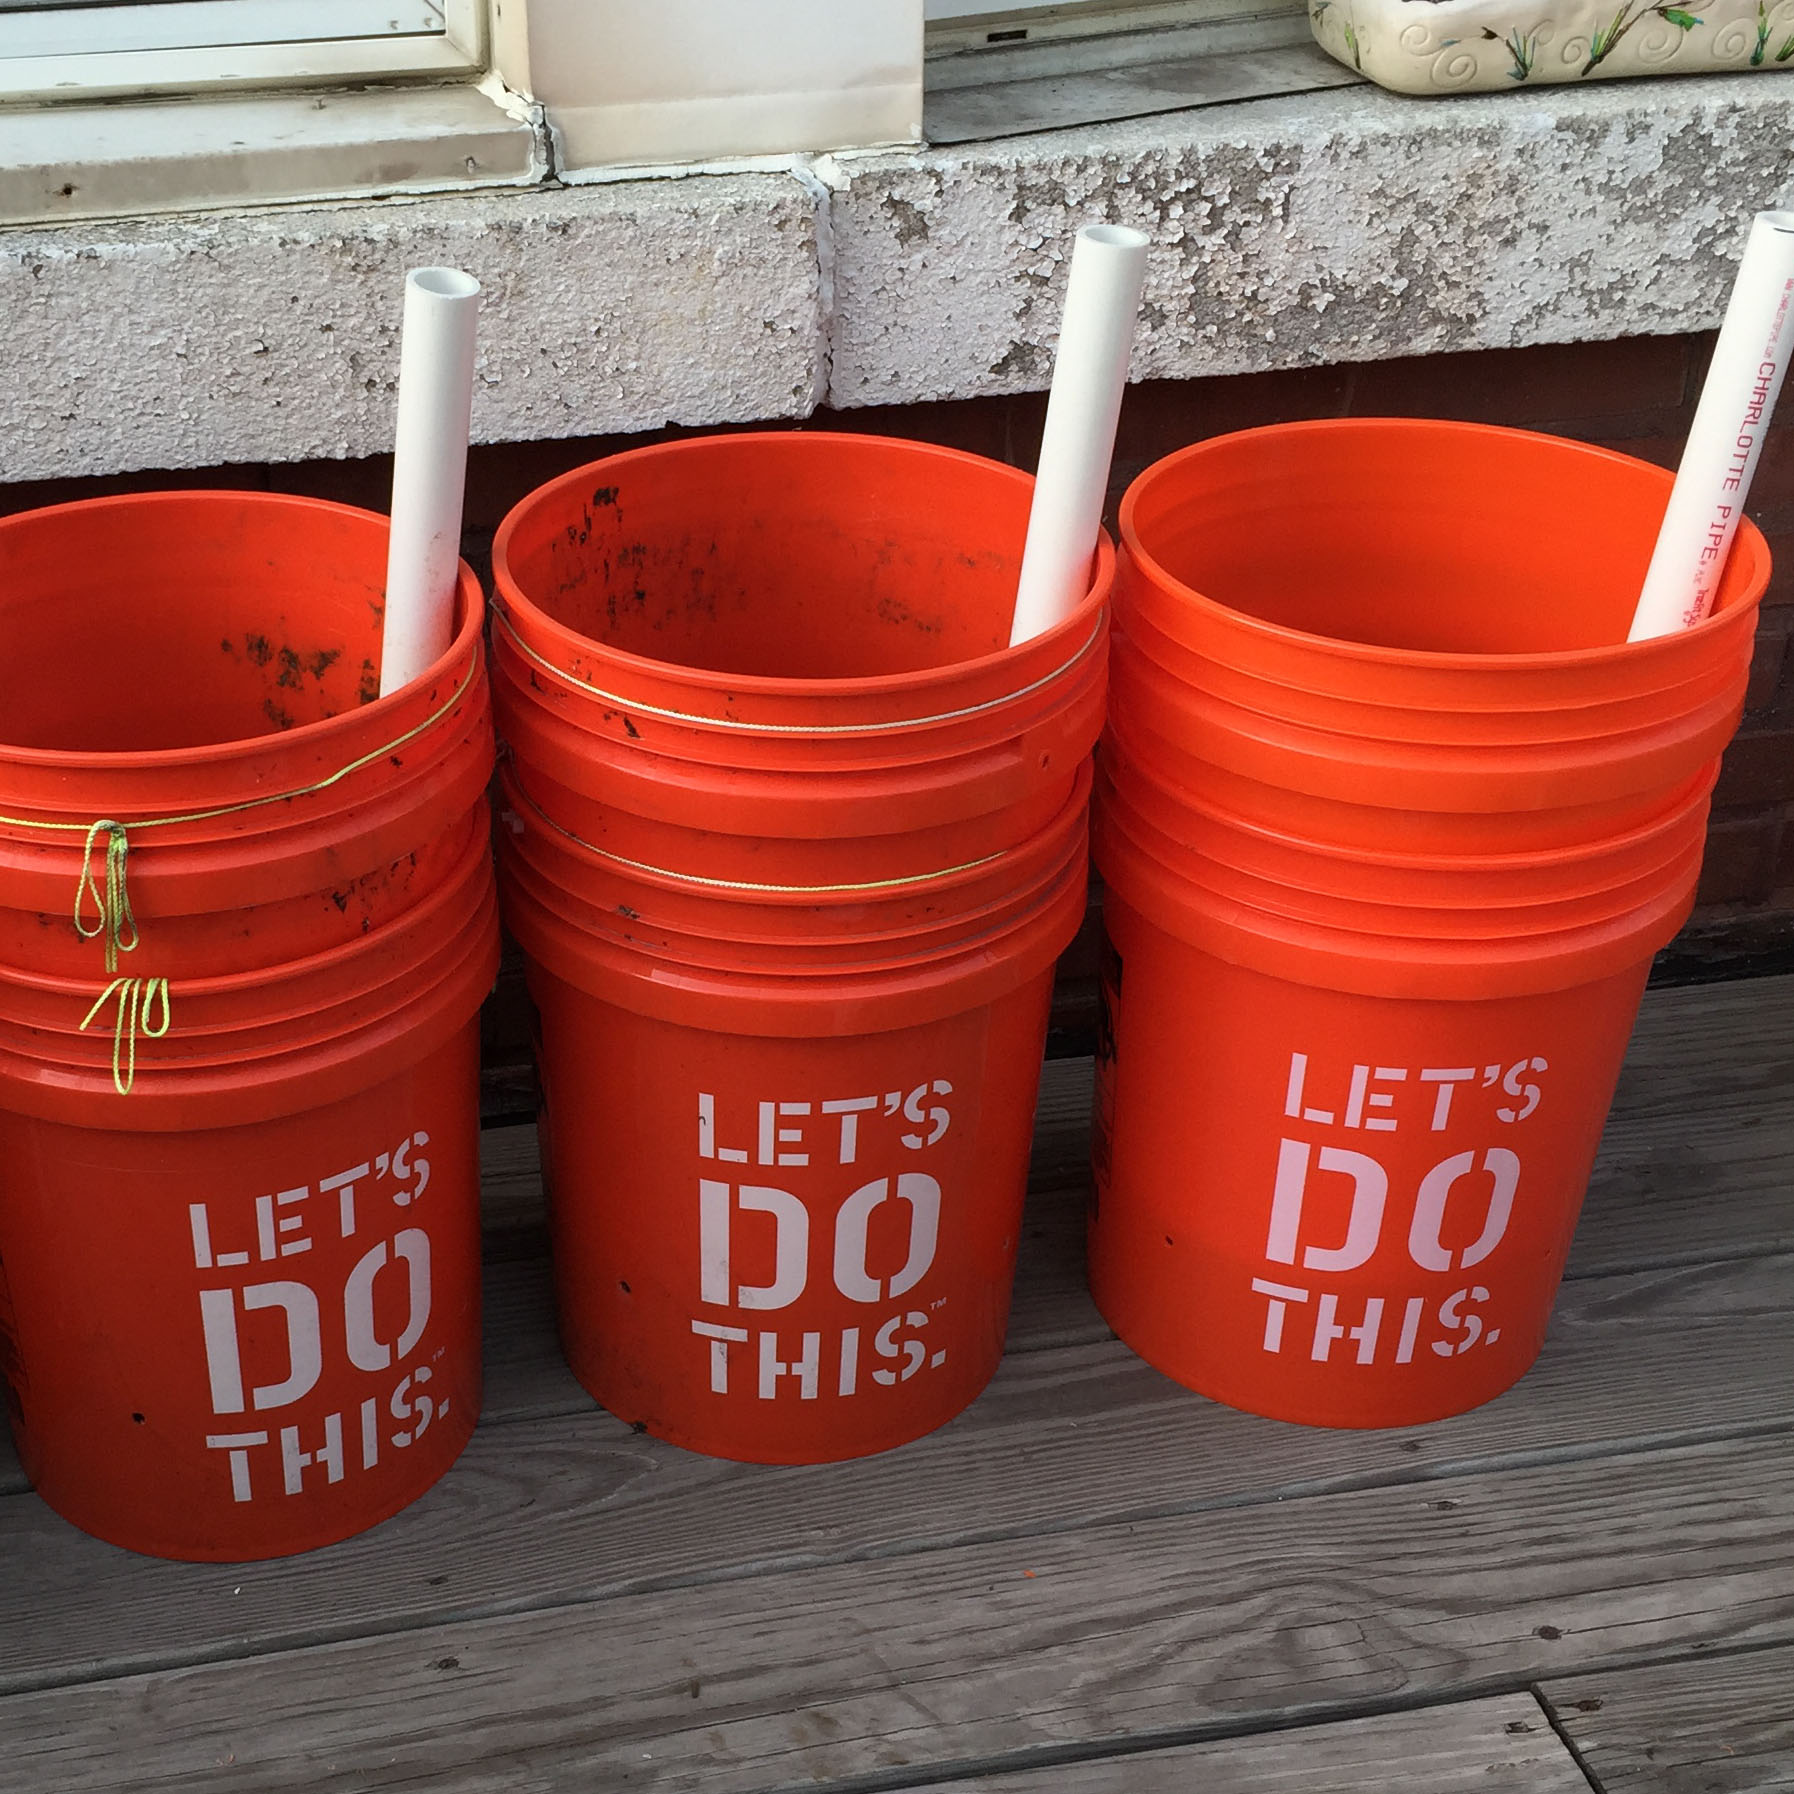
~2 – 5 gal buckets
~Drill with 1/4″ bit
~2 – Solo cups
~24″ long 1″ PVC pipe (one end sawed off at an angle)
~White trash bag
~Zip-ties
~Utility Blade
~Marker
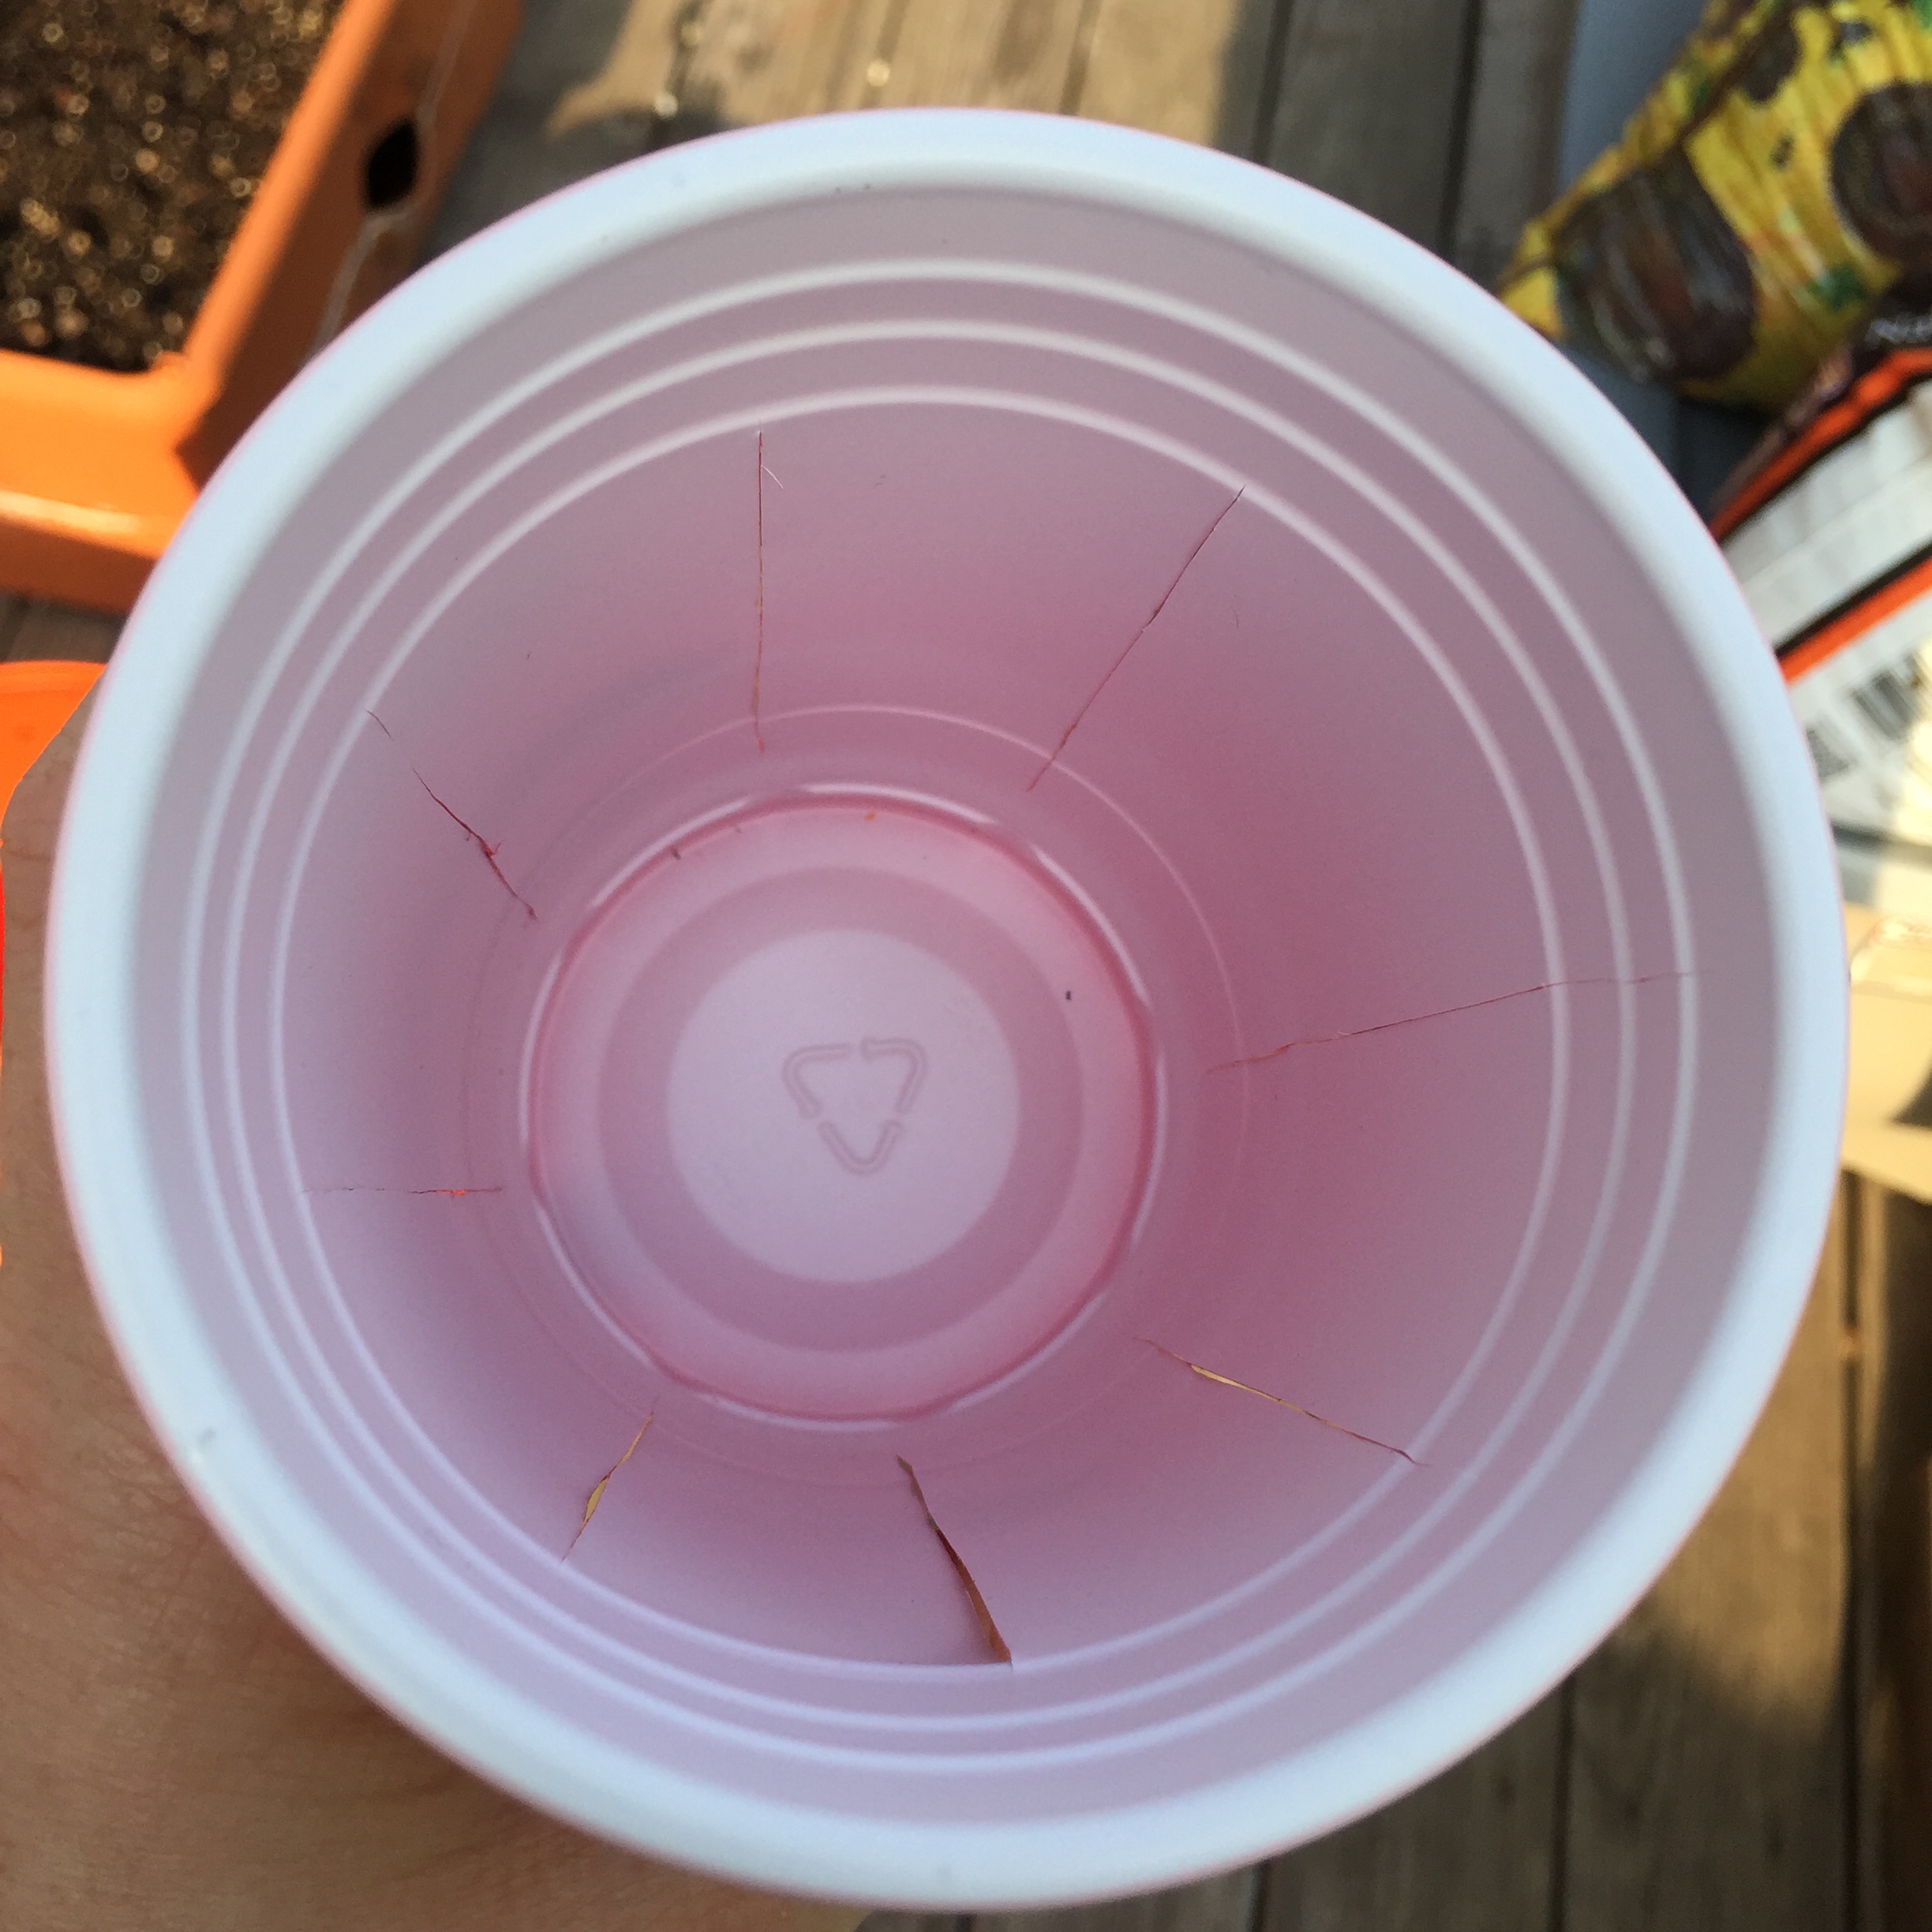
Cut the rim of one Solo cup about 1/2″ from top to determine the hole to cut on bottom of inside bucket. Trace cut diameters of Solo cup in center of the inside bucket and PVC pipe at outer edge.
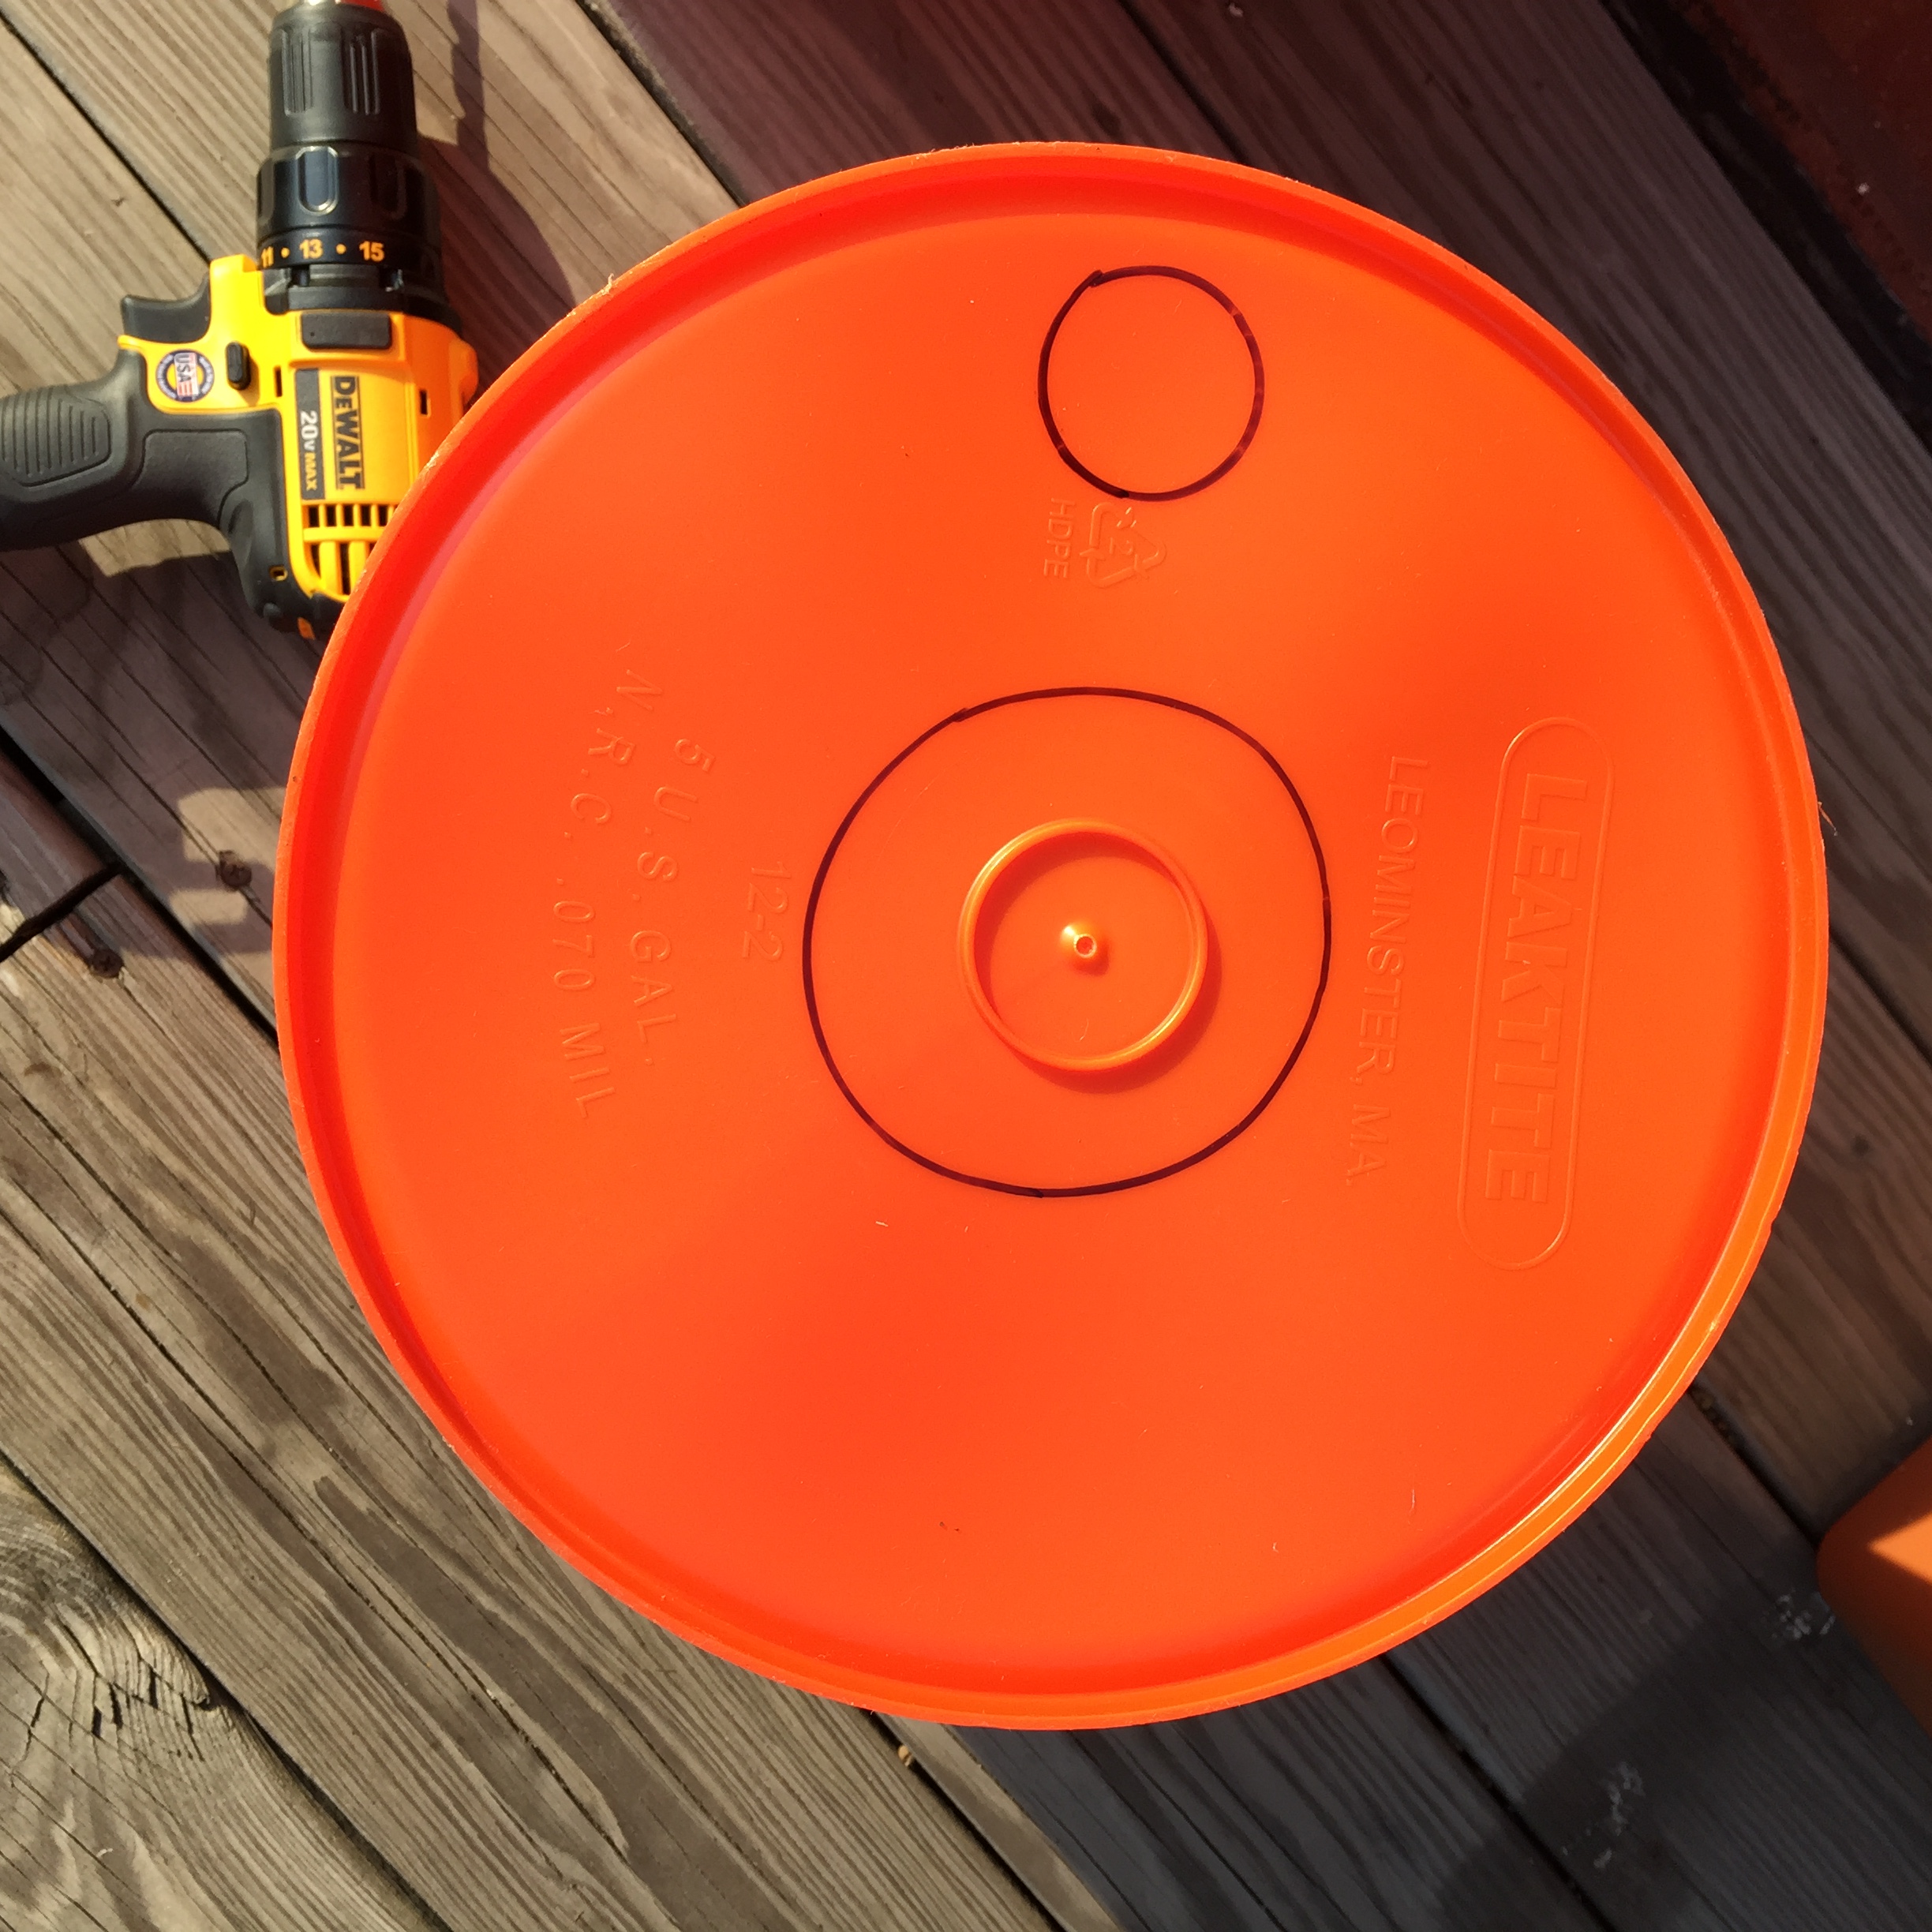
Drill holes next to each other on inside of traced line, unless you have an appropriate sized hole cutter.

Use your Utility Blade to pop out the circle cuts and clean the edges. It really doesn’t need to be pretty.
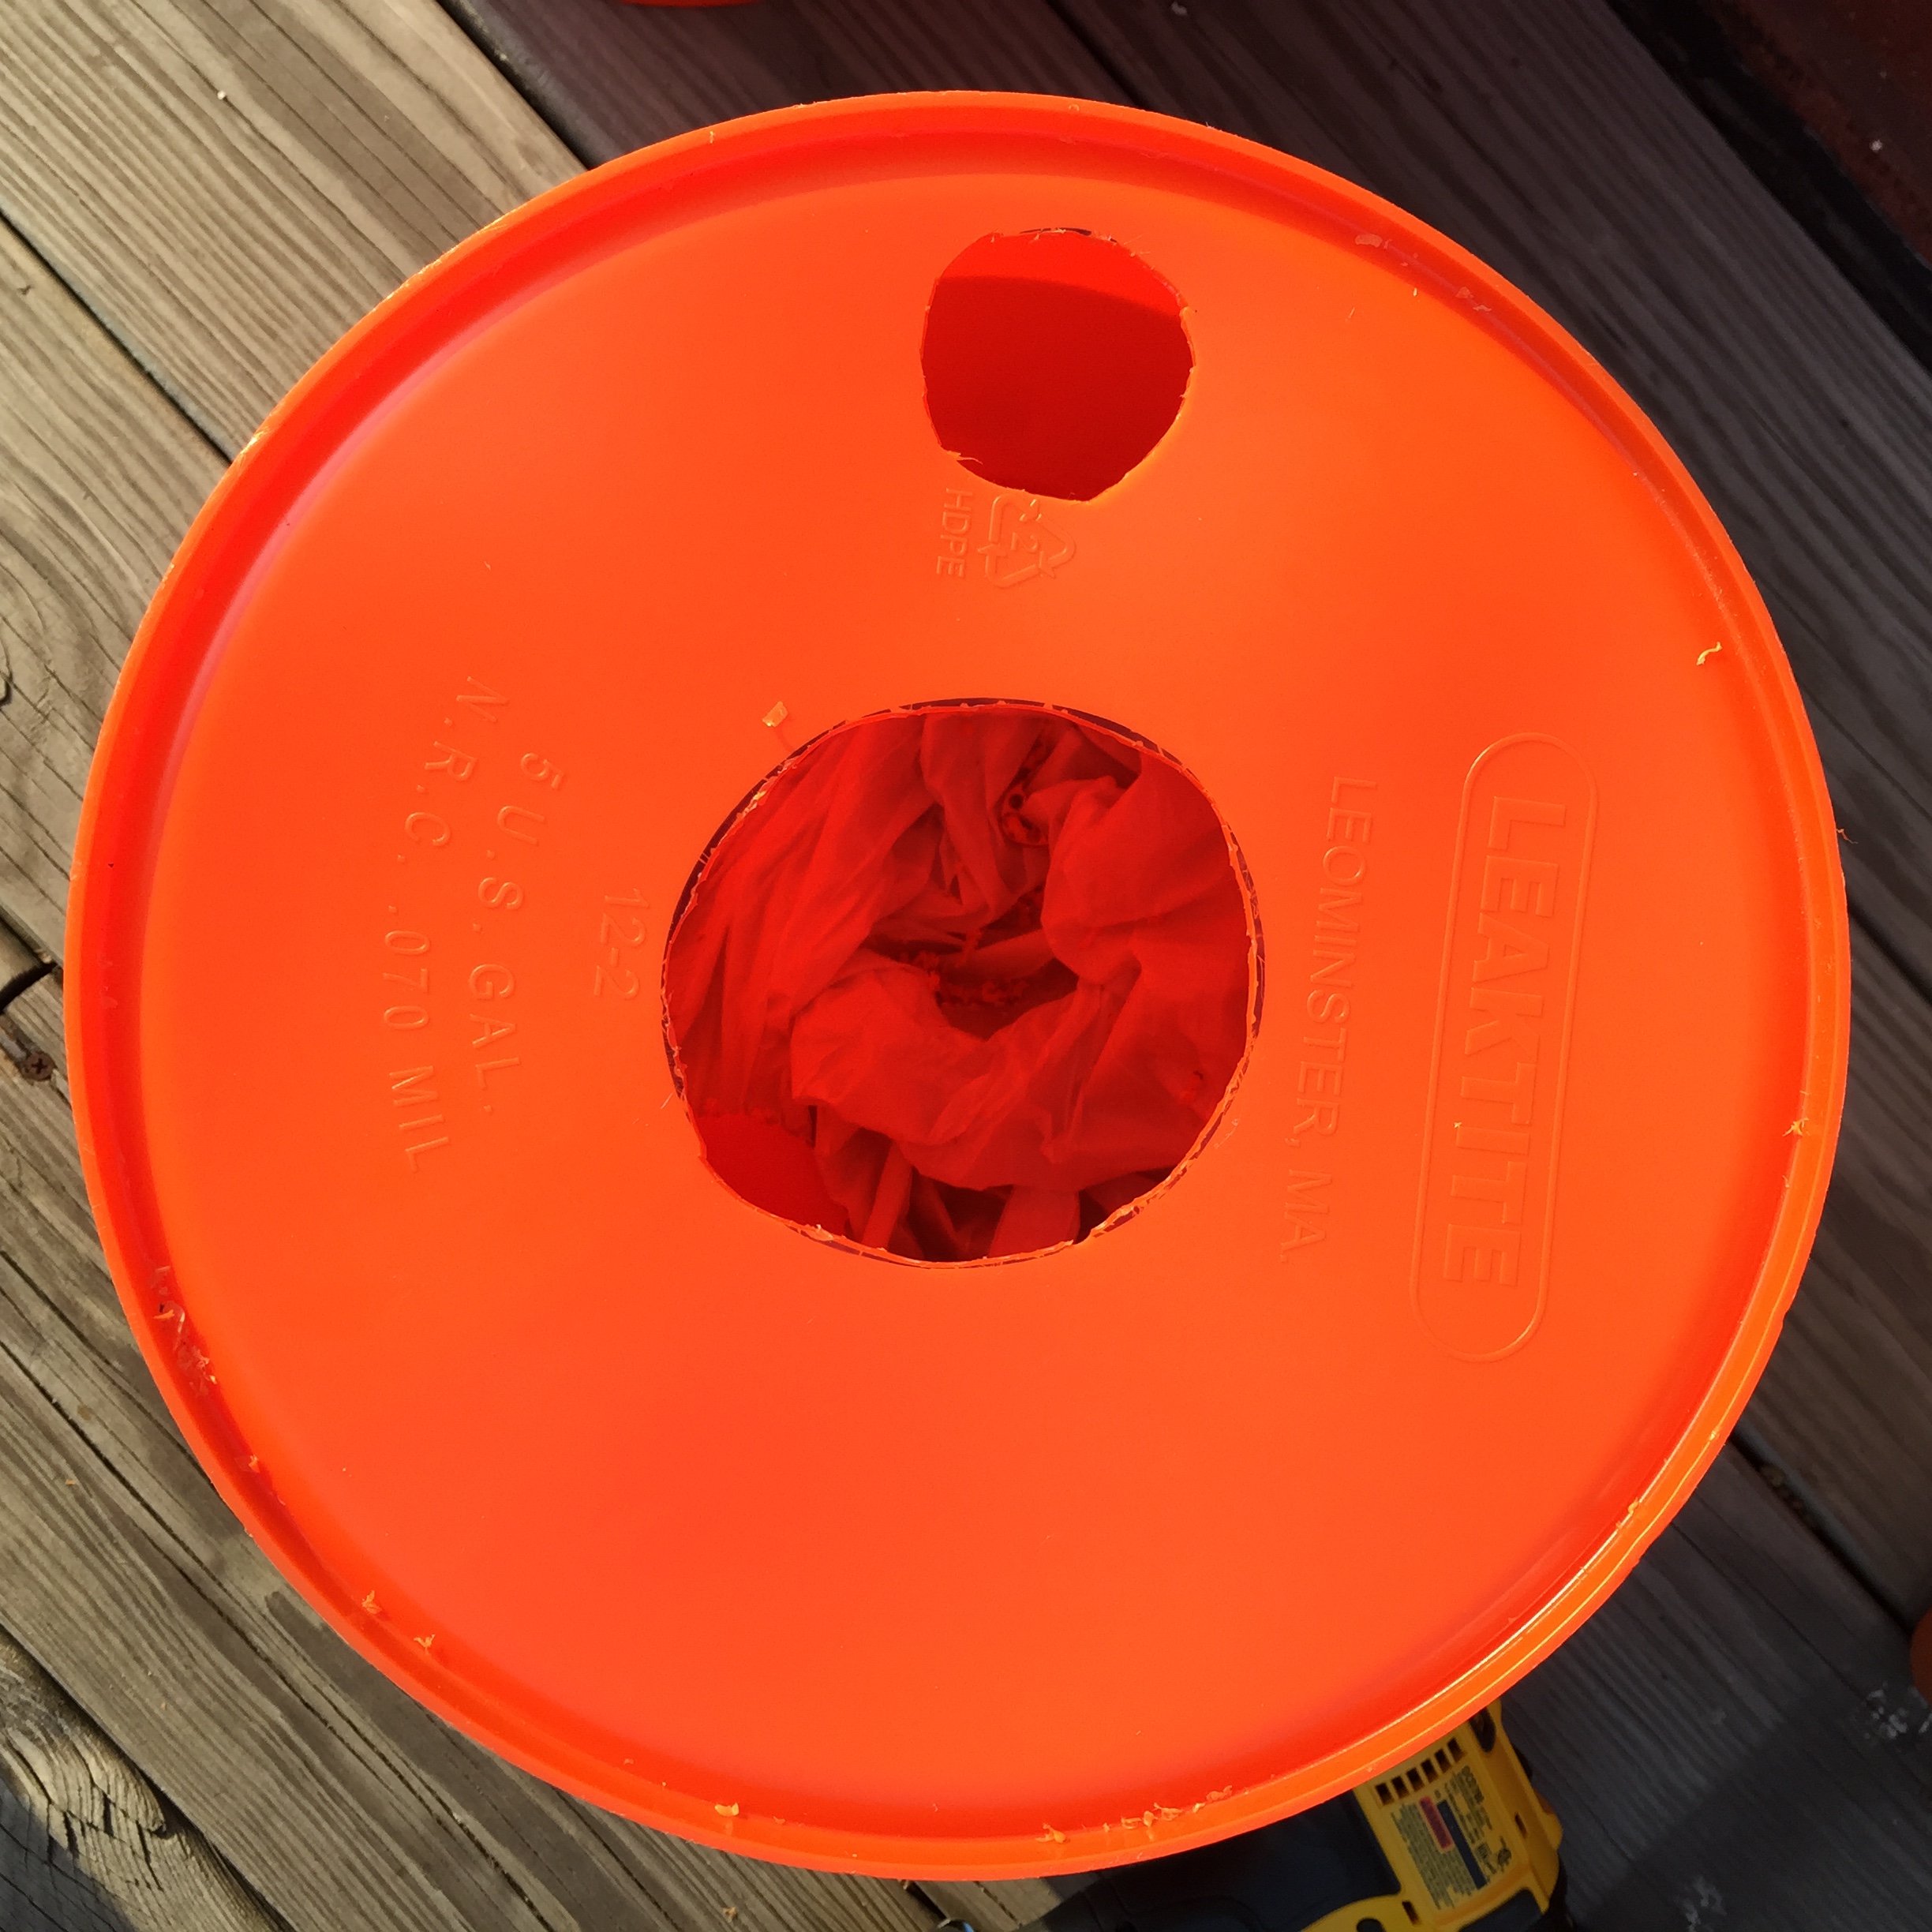
Drill holes evenly over remainder of bucket bottom

With the Utility Blade slice the 2nd Solo cup every inch or so leaving about 1/2″ uncut on top and bottom.
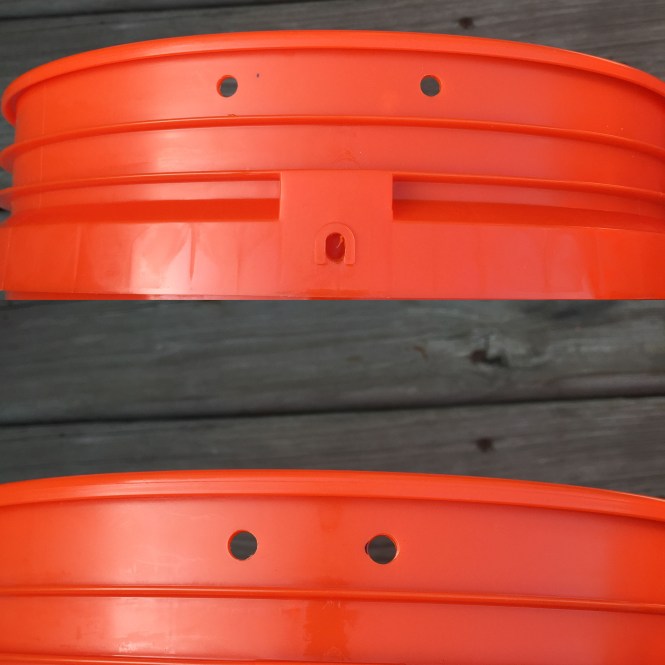
On the outside bucket, drill 2 holes on each side. Make sure that on one side the holes are wide enough to accommodate PVC pipe.
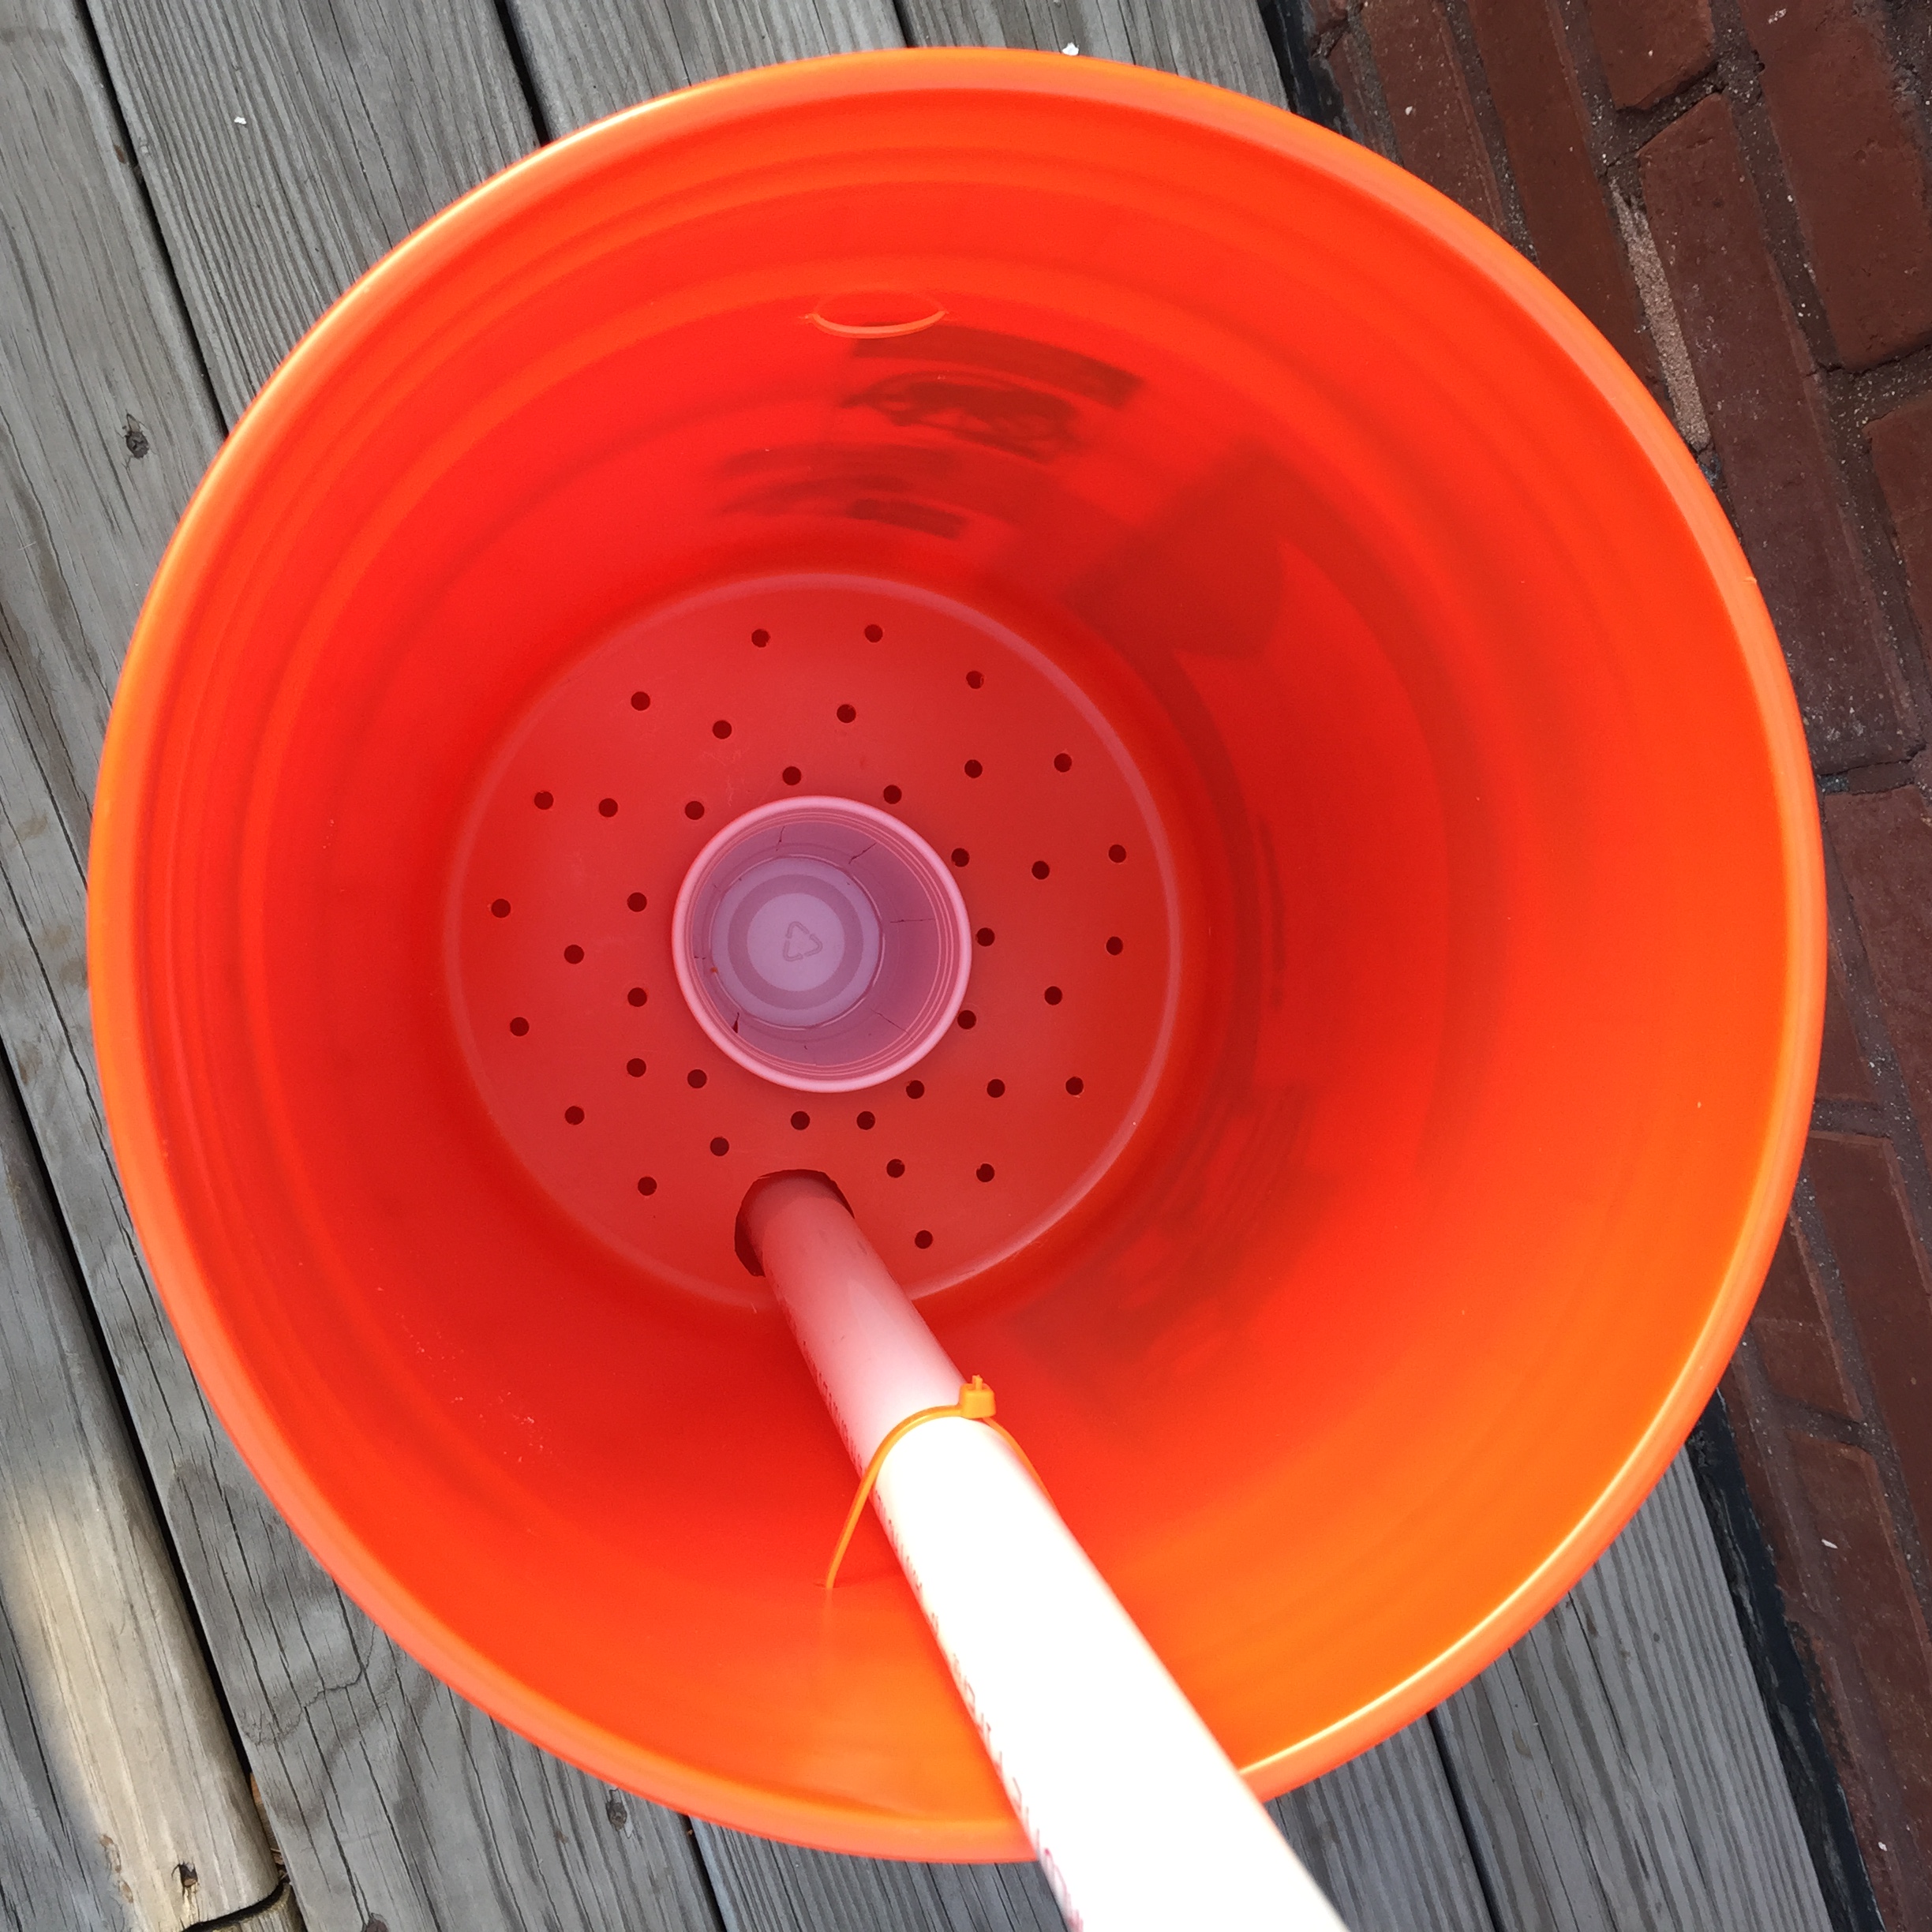
Hold up the first bucket inside second with the Solo cup/wicking basket hanging and touching the bottom of the outside bucket. Mark the corresponding holes to the inside bucket. Drill and attach the two buckets and PVC pipe with the zip-ties.

I probably drilled too big of a hole for the PVC pipe but it really doesn’t matter. Some soil will fall down into the water and it’s no big deal.
Once you know the depth of the water reservoir, drill 4 holes around the outer bucket just below the bottom of the inner bucket for water over flow. You can see the shadow of the inside buckets in the picture below, showing you where to drill the holes.
The basic idea of this planter is there is a water reservoir at the bottom of the bucket. Once the bucket is filled with soil, the Solo cup filled with soil acts as a wick bringing the water up into the rest of the bucket. The holes on the bottom of the inner bucket make sure the soil can drain excess moisture and never gets too soggy. The over flow holes on the outer bucket ensure that the bottom of soil is never sitting in water besides the wicking container.
After filling with soil, pour water on the top of the soil to ensure that all of it is initially moist when planting. After that the reservoir will be filled directly from the PVC pipe.
Once you have planted, take a plastic trash bag and cut a circle a few inches wider than the top of the buckets. Cut a hole for the plant and the PVC pipe and tie it over the top of the bucket. This will prevent all the water from evaporating out. Use a white trash bag because a black one will retain too much heat and cook your plants.
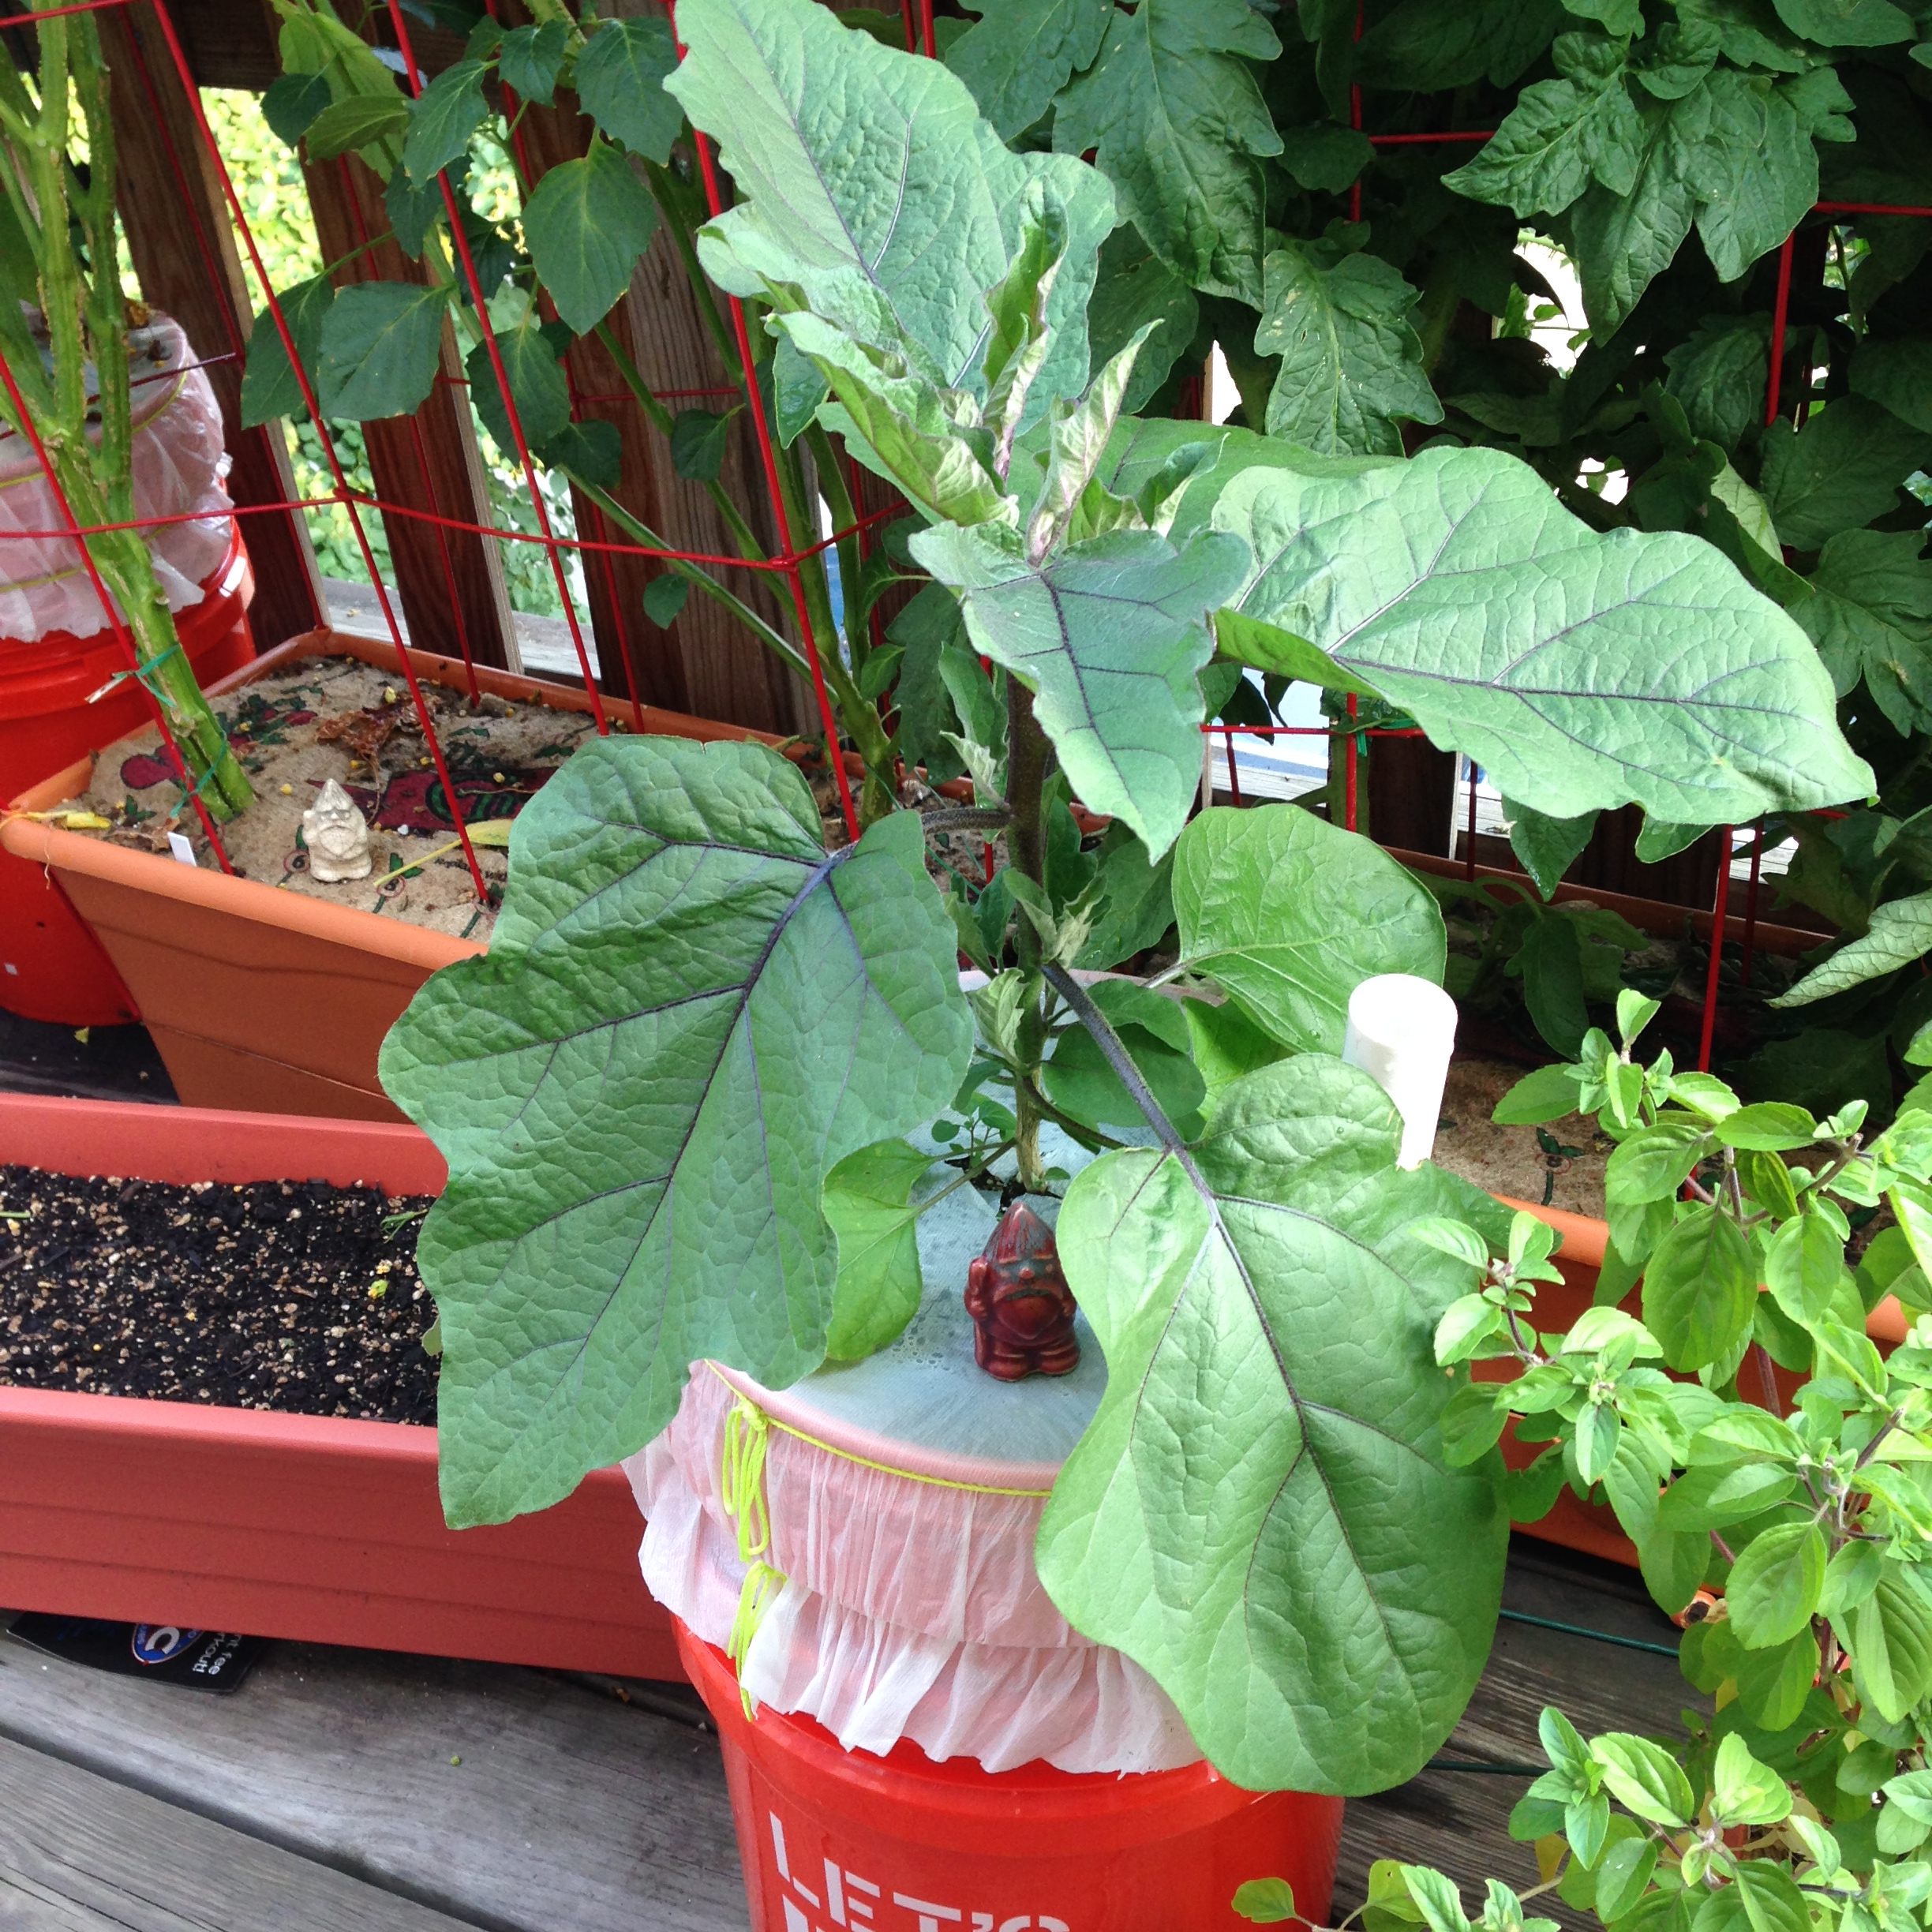
Below is last year’s eggplant when I transplanted him and then 2 weeks later. Happy Gardening!


What a great DIY tutorial. I am going with a container garden this year while we start designing our side garden lot. I am going to try this out for sure!! Thanks